Step-by-step guide
How to make a reaction video that stays in sync
The whole workflow in the order you will actually do it — pick something worth reacting to, set the room up once, record a take that survives every pause and rewind, choose the layout afterwards, and hand your editor a timeline that is already aligned.
Try Pro free for 3 days — $0 today, then $39.99/month. Cancel before the trial ends and you pay nothing. You can follow every step below without paying.
- Steps10
- Setup~20 min once
- Gear neededLaptop + headphones
- Cost to try$0
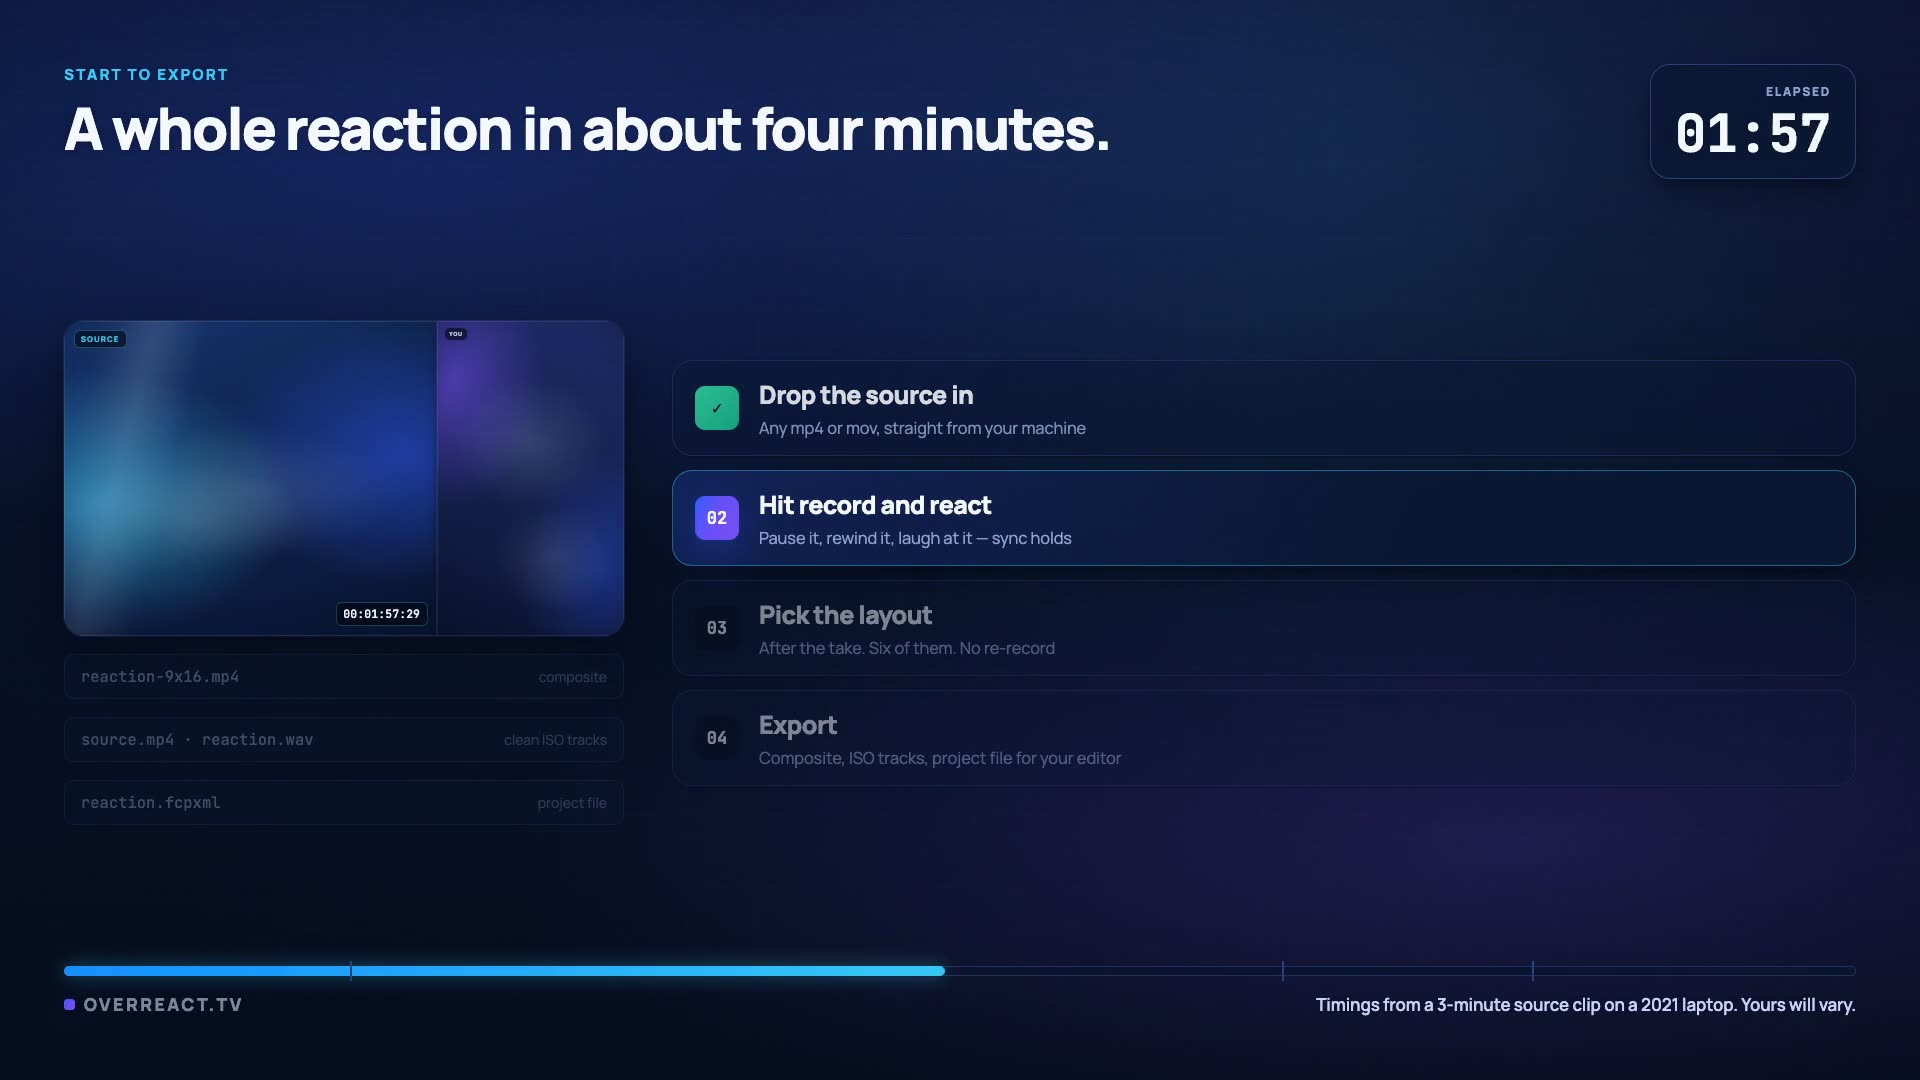 Setup to export
Everything either side of the take, in about four minutes.
Read this first
Four things ruin reaction videos, and three of them happen before you press record
- 01
The source plays out of your speakers.
Wear headphones. Everything else is recoverable; this is not.
Step 4 → - 02
You pause for two minutes and the rest is offset.
Record somewhere that writes the pause down instead of assuming a stopwatch.
Step 6 → - 03
You composite the layout live and hate it on playback.
Leave the layout until after the take, then try all 10 against real footage.
Step 7 → - 04
You end up with one flattened file.
It lands already aligned, so a trim is not a re-record.
Step 9 →
The ten steps
From an empty room to a finished upload
Steps one to five are a one-time setup you will never repeat in the same detail. Everything from step six onwards is the loop you run every week.
- 1
Pick a clip you can actually talk over
~5 minChoose something short enough that your reaction is most of the runtime — under ten minutes for a first attempt. You want a clip with beats: a reveal, a mistake, a punchline. A flat clip makes a flat reaction no matter how good your camera is.
- 2
Get the source into the browser
~2 minDrag a video file straight into the session. The clip has to be saved on your machine first — there is no link to paste and no way to pull a video from a URL inside the app, so grab the file before you start.
- 3
Put a light in front of your face
~10 minSit facing a window or a lamp, never with one behind you. Raise the camera to eye level — a laptop on a stack of books beats an expensive webcam pointed up your nose. Leave headroom, because vertical layouts crop tighter than you expect.
- 4
Wear headphones. This is the one that matters
~3 minIf the source plays out of your speakers it goes into your microphone, and your camera track is permanently contaminated with a doubled, delayed copy of it. Headphones are the difference between a usable clean track and one nobody can edit. Then confirm your microphone is the one you think it is and speak at the volume you will actually react at.
- 5
Record twenty seconds and watch it back
~1 minRecord a short test, stop and play it. You are checking three things: your face is lit and in frame, your voice is clean with no source bleed, and the source audio is where you expect it. Fixing this now costs a minute. Fixing it after a forty-minute take costs the take.
- 6
Record the real take and stop protecting the timeline
the length of your takePress record, then press play. Pause when you want to say something long. Rewind to watch a beat again. Get up and come back. OverReact stamps every play, pause and seek with the source's own playhead position, so the render puts your face against the frame you were looking at rather than against the clock.
- 7
Choose the layout now that you know what the take was
~2 minOpen the export drawer and try the layouts against your real footage. If the source needed the whole frame, use Corner Pocket. If you carried the video, Green Room or Full Focus. If it is a duet-style reply, Sidecut. Changing your mind later re-renders; it never re-records.
- 8
Plan for a muted feed
~1 minVertical feeds autoplay muted, so on-screen text is not decoration. OverReact does not caption for you — add them at upload or in your editor before you post.
- 9
Export the composite
2–6 min of renderingThe composite is the finished video, and it is what a session hands back. Render time scales with length and resolution, so a long take is not a short wait.
- 10
Finish in your editor, or post it as it is
variesIf the take was clean, upload the composite and stop. If it needs trimming, take that same MP4 into CapCut, Final Cut, Resolve or Premiere — the alignment is already rendered in, so the sync work is the part you never have to do again.
Step six, in detail
Why the pause button costs most people the take
Almost every piece of reaction advice online ends with “record it in one pass and do not touch anything”. That is not a creative choice, it is a workaround for tools that only know how much time has elapsed, not where the source was when it elapsed.
What a stopwatch sees
Ninety seconds of camera and ninety seconds of source. Line them up at zero and everything after your first pause is ninety seconds early for the rest of the video.
What a timeline sees
Play at 00:00. Pause at 01:48 with the source on frame 3,240. Resume ninety-one seconds later on the same frame. The gap is a fact in the recording, not something to be inferred afterwards.
Why backwards seeks are worse
A rewind means one stretch of source appears twice under two different stretches of your camera. No audio-matching pass can resolve that, because both copies of the waveform are genuinely correct.
Practical upshot for step six: pause as much as you want. It usually makes the video better, because the alternative is talking over the moment you are reacting to.
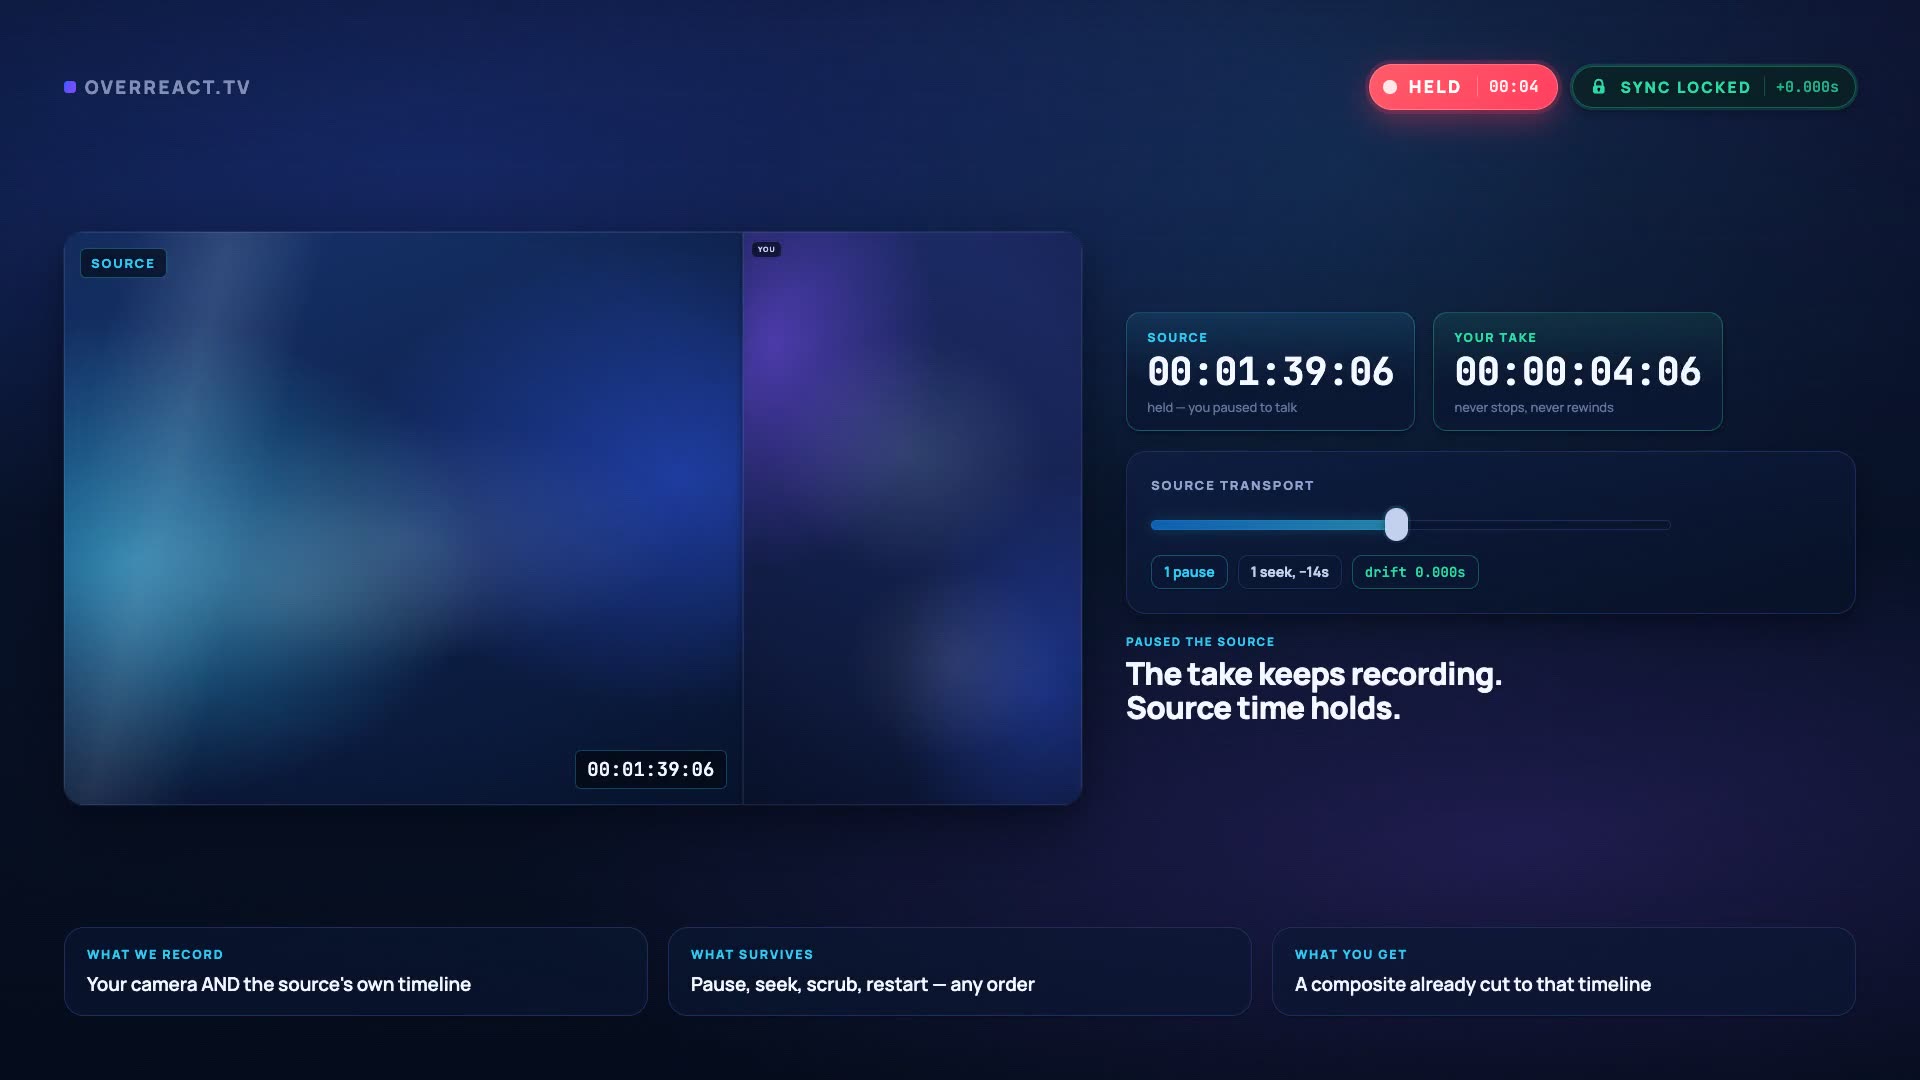 Pause + seek test
Step ten, in detail
How long the finished video should be
The same recording can become three different videos. What changes is not the take, it is how much of it you keep and which aspect you render.
TikTok and Reels
- The first three seconds decide whether anyone sees the fourth.
- One beat per video. If the clip has three good moments, that is three videos.
- On-screen text added at upload — assume the sound is off.
Above the Fold or Sidecut. Keep your face out of the bottom fifth.
YouTube Shorts
- Same discipline as TikTok, but the title strip eats the top of the frame.
- Shorts pulled from a longer reaction perform best when they stand alone.
- Export 9:16 from the same session rather than cropping the widescreen edit.
Corner Pocket, with the camera circle dragged off the right rail.
A main YouTube channel
- A ten-minute clip usually becomes fifteen to twenty minutes of finished video.
- Pausing to talk is what makes the runtime, and it is also what makes it watchable.
- Your pause points are usually your chapter marks.
16:9 from the same take. Green Room if you are the draw, Corner Pocket if the clip is.
One last thing that belongs in a tutorial and not in a footnote: reaction content is not automatically fair use. Commentary, criticism and parody are genuine defences and a lot of reaction videos sit comfortably inside them, but “a lot” is not “all”, and Content ID matches audio and video by fingerprint regardless of what a court would decide. Keep the commentary substantial, keep unbroken stretches of the source short, and expect claims on music. That matters just as much when you supply the file yourself: OverReact only works from a video you drag in, so rights clearance is still on you — only upload videos you have the right to use.
Common questions
Everything else people ask on their first attempt
Still deciding on the tooling? The recorder walkthrough covers what it does, and the OBS comparison covers when it is the wrong choice.
How long should a reaction video be?
For TikTok and Reels, under a minute, and the first three seconds decide everything. For Shorts, under sixty seconds. For a main YouTube channel, match the source and let your commentary stretch it — a ten-minute clip usually becomes fifteen to twenty minutes. Longer only works if you are genuinely saying something the whole way through.
Do I need a microphone, or is my laptop fine?
A laptop mic in a quiet room beats a good mic in a bad one. What actually ruins reaction audio is not the microphone, it is playing the source through speakers so it bleeds into your track. Wear headphones and a cheap setup sounds fine.
What do I say when I have nothing to say?
React to the specific thing on screen instead of narrating it. Predict what happens next, then be wrong out loud. Pause and explain why a moment landed. Silence during a good beat is fine — the pause button exists so you can talk properly afterwards rather than over the top of it.
Can I react to a video I do not own?
That is a rights question, not a software one. Commentary and criticism are real defences and much reaction content lives inside them, but it is not automatic, and Content ID matches by fingerprint no matter how transformative your commentary is. Add substantial commentary, avoid long unbroken stretches of the source, and expect music to get claimed.
What if I mess up halfway through?
Keep going. Pause, say the line again, and fix it in the edit. Because the composite comes out already aligned, cutting a bad thirty seconds is a trim rather than a re-record.
Do I need to buy anything to follow this?
No. Try Pro free for 3 days — $0 today, then $39.99/month. Cancel before the trial ends and you pay nothing. After that, Free keeps working at 720p with a watermark — with the caveat that free storage is deleted after 24 hours, so download what you make on the day you make it.
Try step six
Reading about the pause button proves nothing. Pausing it does.
Record a short take, pause the source in the middle, rewind ten seconds, then export and watch where your face lands. On Free, recordings and exports are permanently deleted 24 hours after they are created. Download them before then, or upgrade to keep them.
Try Pro free for 3 days — $0 today, then $39.99/month. Cancel before the trial ends and you pay nothing. 14-day refund on your first charge. Cancel any time.
Not recording today?
Leave an address and we will tell you when a layout, an export format or a browser gets added. No drip sequence, no “our journey” newsletter.